This article aims to show you how you can create landing pages in the Mail Blaze Brand Hub. There are many ways in which to use landing pages to support your email campaigns.
What are landing pages generally used for?
- Lead Generation Pages
- Sales/E-commerce Pages
- Product Launch Pages
- Event Registration Pages
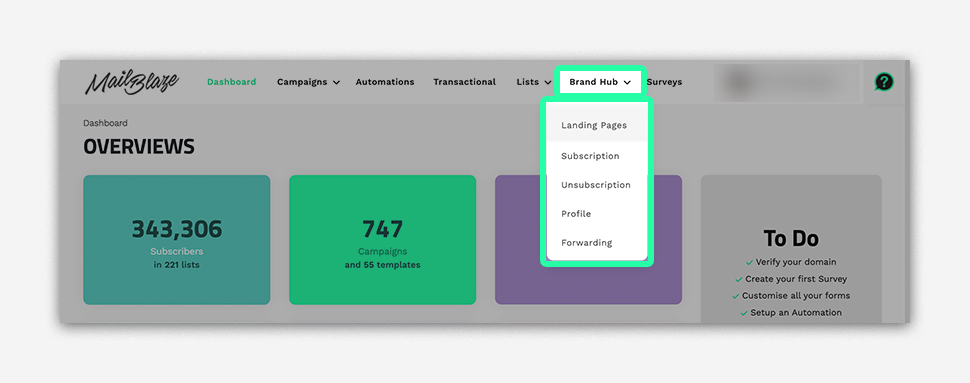
To find the Landing Page Builder, you’ll login to your account, click on BRAND HUB from the main navigation menu bar and then select LANDING PAGES from the dropdown-menu
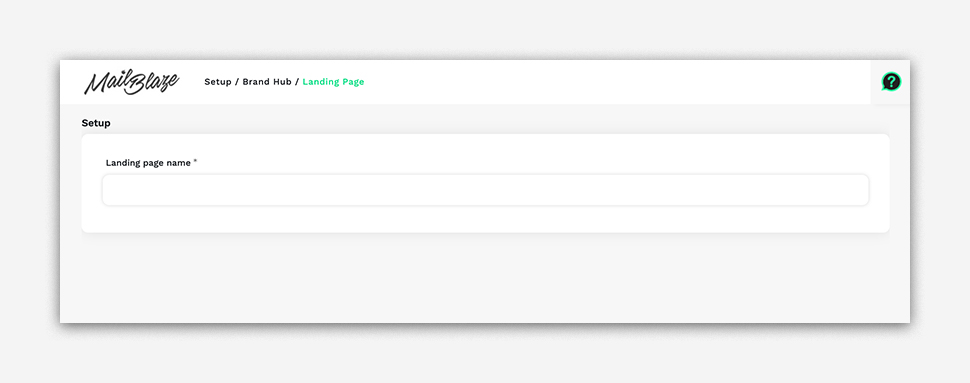
Now you’ll be able to give your Landing Page a name
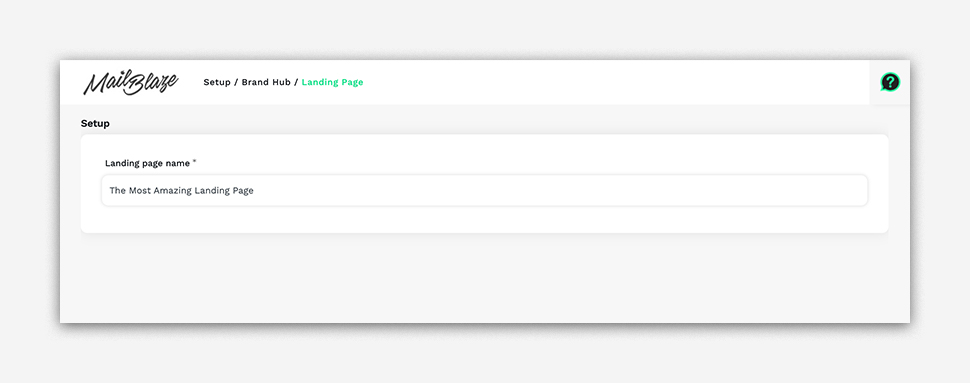
For the purpose of this article we’ve named the landing page “The Most Amazing Landing Page.”
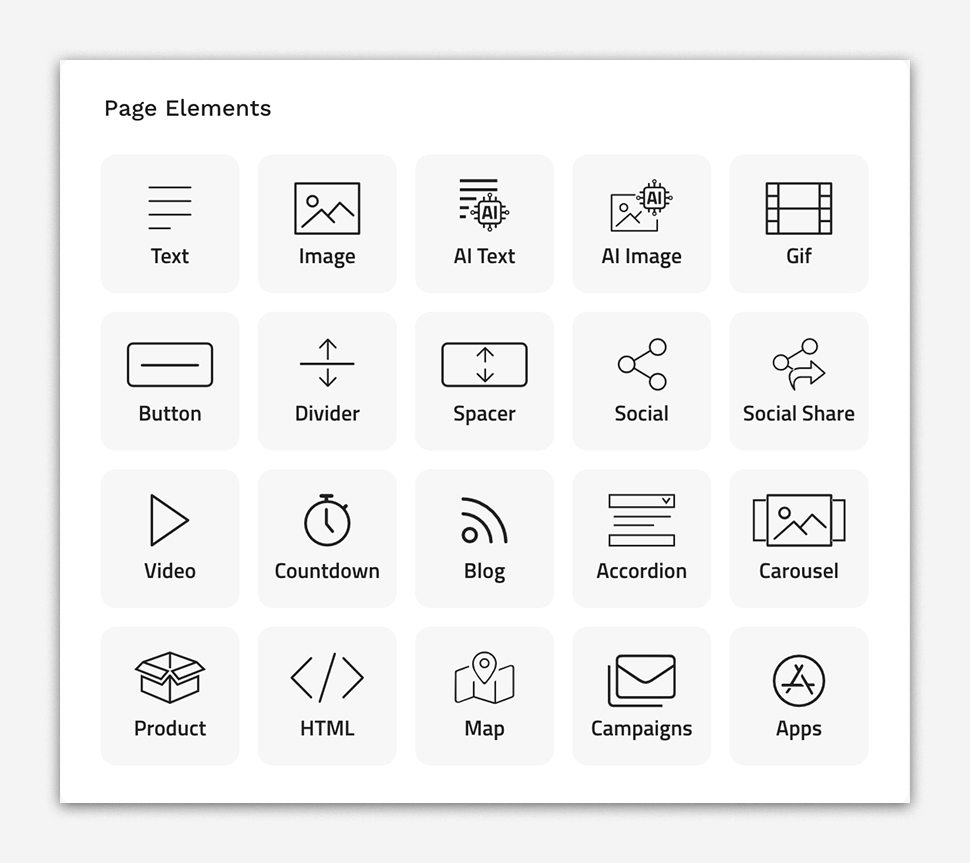
Now you’ll be directed to the Landing Page Design Pane.
In addition to all the Page elements you’re familiar with in the email and form builders, you’ll have some specific Page Elements blocks that are unique for Landing Pages namely:
- Social Share
- Map
- Campaigns
- Apps
You’ll also be able to include Surveys and Form Elements as well as Payment Related Elements.
Let’s take a closer look at each of these Page Elements:
SOCIAL SHARE:
If you’d like your audience to be able to share a specific link to their audience, you can include the specific social platforms you’d like them to be able to share to.
MAP:
If you’re creating an event landing page the Map Page Element may be just what you need. The Map Page Element allows you to pick a location and show a Google Map embedded map on your page.
CAMPAIGNS:
If you’d like to share a few of your previous campaigns on your landing page, you can use the Campaigns Page Element to create a mini campaign archive for you.
APPS:
Have an app? Include download buttons to your dedicated apps with the App Page Element.
Let’s take a closer look at each of these Form and Survey Elements:
You’ll be able to add Surveys or Forms to your Landing Page.
To learn more about how to create a Survey, please refer to our documentation here and Video Tutorial here

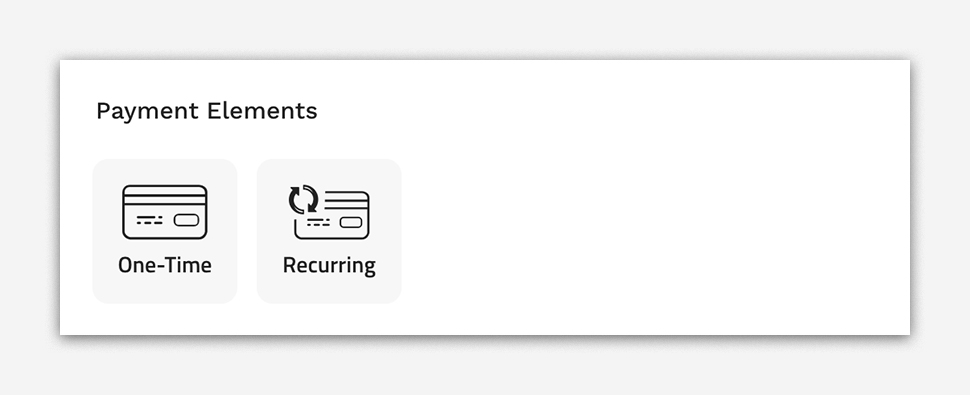
Next you’ll see you’re able to directly add Payment elements for One Time Payments or Recurring Payments powered by Stripe.
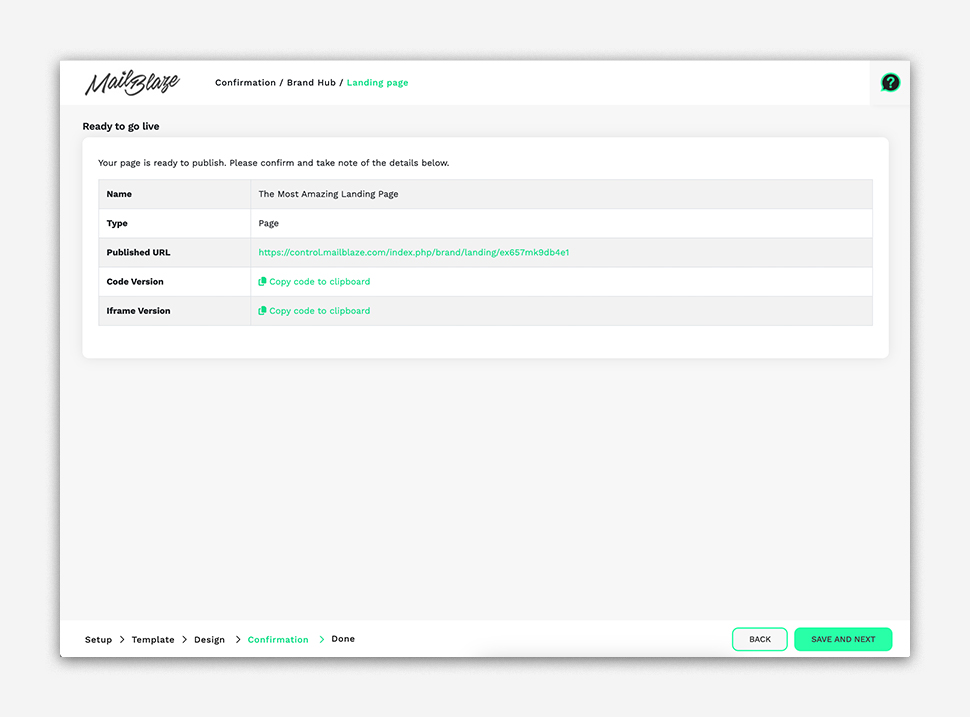
Once you’ve finished your Landing Page design you can either Preview your design or click on SAVE AND NEXT. You’ll now see the Landing Page Confirmation Page that gives you the Landing Page URL, copy the Code Version of the page or copy the iFrame version. If you’re happy with the page, click on SAVE AND NEXT and your Landing Page will be live.
Need info?
We'd love to hear from you. Send us your questions and any special requests you may have and we'll get in touch.
